CANON PIXMA IP110 SETUP – PIXMA IP110 SERIES
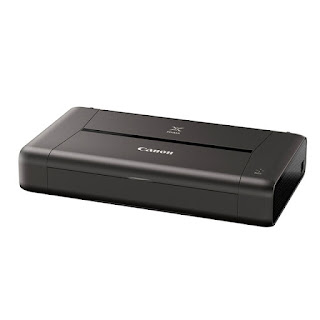
Canon Pixma ip110
The Canon Pixma ip110 is a small wireless printer that offers great convenience and great picture quality. It has the capability to print photographs and high-quality business documents up to 8.5 x 11 inches. Thus, it is an excellent printing machine that is ideal for both personal and commercial use. Moreover, due to its compact and lightweight design, it is easy to carry. Along with this, the Canon Pixma ip110 setup process is also easy to perform. So users are advised to read the complete description given here to complete the setup process.
The Canon Pixma IP110 includes a built-in WiFi capability that instantly connects to the device and allows the user to print from anywhere in the home. Also, it saves time as well. In addition, users can perform printing jobs through their mobile devices through the wireless printing facility. Hence, the user can print from his smartphone using various applications like Google Cloud Print, AirPrint, and Canon Print app.
The Canon Pixma ip110 is a multifunction printing machine that connects to the device wirelessly. Plus, with the printing features included, the Canon Pixma IP110 setup process is simple and straightforward. Hence, users are advised to go through the Canon printer setup process to take advantage of its amazing print quality. Hence, all the users must follow the below steps to complete the Canon Pixma IP110 setup process.
Steps for Canon Pixma ip110 setup
Users are advised to refer to the complete information below and apply the steps to complete the setup process.
"On" turn on the printer
Initially, users are suggested to "turn on" the printer.
Note: Users are suggested to plug one end of the power cable into the power socket and the other end into the back of the Canon printer to "turn on" the printer.
Now users are advised to "turn on" the Canon printer's operational panel.
Then hit on the "Power" button.
After this, users will have to choose the language of the printer as per their choice.
Note: Use the navigation keys to select the Canon printer's preferred language.
Download canon printer driver
To avoid any Canon Pixma IP110 setup issues it is recommended for all users to get latest and updated Canon printer drivers. Hence, users are advised to scroll down and follow the prompts given below.
Firstly, users are suggested to open a web browser.
After that visit the official website i.e. canon.com/ijsetup.
Then, users are advised to tap on the "Setup" option.
Thereafter, users are advised to select the printer model from the list provided or to type the product name in the field provided.
Then, users are advised to tap on the "Go" button.
Then select the region.
Then Canon Pixma IP110 Setup window will open.
Now on that window, users are advised to click on the “Download” option.
Then, the ".exe" file will begin downloading.
Note: Users are suggested to wait and let the download process complete.
Now, follow the on-screen instructions to complete the Canon printer driver download and installation process.
Install canon printer cartridge
Users should wait for the print carriage holder to become stable. Thus, once the carriage is stable, follow the steps described below to install the Canon printer cartridge.
Users are suggested to gently remove the tape from the printer cartridge.
Note: Do not touch the contacts on the Canon printer cartridge.
Now users have to put the black cartridge in the left slot and the color cartridge in the right slot.
Note: Users should then locate the Canon Printer Cartridge with the angle facing upwards in the slot.
Note: After placing the printer cartridge, users are advised to lock it gently.
After doing this, close the output cover of the printer.
load paper tray
Take out the paper trays carefully, and they are suggested to stop after hearing a clicking sound.
Then, users are advised to gently slide the purple paper guide and move it to the right.
Now place the paper in the paper tray.
Note: Users are advised not to exceed the maximum paper limit.
Then, gently adjust the paper guide through the paper edges to hold it in place.
Note: Users should then check and ensure that there should be no folded paper as it will lead to a paper jam problem.
- After the user has placed the paper, they should gently slide the paper tray into the printer.
Now users are recommended to set the paper settings as per the requirement of the printer display.

Comments
Post a Comment