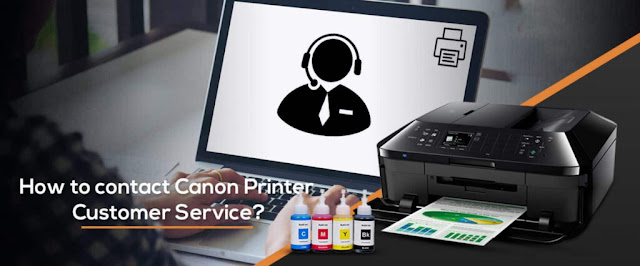
set up your printer with Google Cloud Print

How to set up your printer with Google Cloud Print?
How to set up your printer with Google Cloud Print?
To take your printing experience to the next level, you’ll need to set up your Canon printer with Google Cloud Printing. It lets you print from any cloud-enabled location or device. You can enjoy printing directly from your web browser. Setup is the primary process that you must follow to get your hands on this ultimate service.
Fundamental Requirements for Google Cloud Print
To setup a printer on Cloud Print, you need to meet certain prerequisites. Meeting these requirements will make your process simpler, hassle-free and faster to execute. The following are the prerequisites of the setup process.
- Login credentials for your active Google Account
- Canon wireless printer set up successfully
- PC or smart device with updated Internet browser
- A4 paper placed in your Canon printer
- Wireless network connection with strong signals
- Learn how to set up your Canon printer with Google Cloud Print
To set up your Canon printing machine with Google Cloud Print, there are a variety of methods available to you. The following are two of them. You can choose any method as per your choice. Make sure you follow the instructions as mentioned so that the process can be completed without any unwanted hindrances.
Method 1: Setup the Printer with Cloud Print Using a Web Browser
It’s fairly simple and straightforward to use a web browser to set up your Canon printer with Cloud Printing. To give you a clear path, we are providing step-by-step instructions below.
Note: This procedure will work with Google Chrome. Make sure the options and their placement may vary with the web browser.
- The primary step in the process is to connect your Canon printer and computer system to the same wireless network.
- Then, run a secure internet browser on your system. If necessary update it to the latest version for smooth process.
- Now, click on the three horizontal lines or dots on the top-right hand side of the browser.
- The list of options will expand immediately. Look for the “Settings” option in the list and select it.
- In the Settings window, scroll down to the end. Then, you will find an “Advanced” option at the bottom. Click it to expand the options.
- As you go down, you will find the “Printing” section. The second option in the section is “Google Cloud Print”. Click it to proceed.
- Now turn it on by clicking its toggle button. Also, click on the “Expand” icon placed next to the Manage Cloud Devices option.
- Next to it, you need to add your printer by clicking the “Add” tab.
- A list of nearby printers will appear. Select the printer you want to set up with Google Cloud Print and press “Add.”
- It will display the confirmation message on your screen informing you about the successful completion of the setup process.
- You can now close the tab and start over with web-printing.
Method 2: Set up Canon Printer via Authentication URL
Another method you can choose to setup a printer with Cloud Print is through an authentication URL. This process will take a few more minutes to complete the setup. To make the process simple and error free, you need to follow the instructions mentioned below.
- First of all, you have to turn on your printer by pressing the Power button. Once it’s on, access your printer’s control panel. Make sure your Canon printer is well connected to the Internet connection.
- Using the available keys, get the menu on your screen by pressing the “Home” button. Now, choose Setup > Web Service Setup > Other Settings > Google Cloud Print Setup > Register.
- Next to it, confirm Cloud Print Canon registration by selecting “OK.”
- You will then be asked to select a language for the print settings. Select the appropriate language and confirm it.
- After a few minutes, a print will come out of your Canon printer containing all the network details. Now you will get the authentication URL with you.
- Now, contact your computing device and connect it to the same Internet network as your Canon printer. Then, run an internet browser on it.
- The authentication URL available on the printout is required to be entered in the address field of your browser.
- This will take you to the logging window of the Cloud Print service. Enter your registered credentials in the fields placed and confirm the account sign in.
- The confirmation message will now appear on the screen of your browser. Along with this, the message of completion of setup will also appear on the screen of your printer.

Comments
Post a Comment