Canon MX410 Wireless Setup

Canon MX410 Wireless Setup – Pixma MX410 Printer
Canon MX410 is a wireless AIO printer that is compatible with Windows and Mac operating systems. It is equipped with a 30 sheet automatic document feeder for scanning, copying and sending faxes quickly. Along with this, the dual color gamut processing technology ensures that the copy is just as brilliant as the original document.
Canon MX410 can create borderless pictures in 42 seconds. In addition, it can print black documents for about 8.7 images per minute, and for color printing, the machine can print 5.0 images per minute. In addition, the latest and advanced printing facilities provide a high level of quality printing.
In addition to the latest printing features, the Canon printer setup process is simple and straightforward. Thus, users are suggested to visit Canon’s official website, i.e. ij.start.cannon, to setup Canon printer.
The Canon MX410 supports both wired and wireless printing. Therefore, users can connect the machine to a wired or wireless network and perform printing jobs. Hence, users who want a hassle-free printing experience should prefer using Canon MX410.
Canon MX410 Setup procedure
Canon MX410 is one of the best Printing Machines which is ideal for both personal and business purposes. Therefore, users who are looking for a printing machine that meets their needs should consider using the Canon MX410. However, for better printing performance, users will have to complete the Canon printer setup process. Hence, all users are advised to follow the below mentioned prompts to setup Canon printer.
Note: Make sure the devices are connected properly.
Note: Make sure you have high-speed internet connection.
WPS setup process
Users are advised to follow the below mentioned prompts regarding the WPS setup process.
- Use the “Menu” button to select “Device Settings”.
- Now with the arrow “Left” or “Right”, select “LAN Settings” and then click on the “OK” option.
- After that select the option “Activate/Deactivate WLAN” and click on “OK” option.
- Then select the option “Wireless LAN Activated” and tap “OK”.
- Note: When the wireless connection is enabled, the Wi-Fi lamp turns blue.
- Then select “Wireless LAN Setup” and hit on “OK” option.
- Next, select the “WPS” option and click “OK”.
- Now select “Push Button Method” and hit on the “OK” button.
- Next, press and hold the “WPS” button on the wireless router and within 2 minutes click “OK” on the printing machine.
- Note: The Wi-Fi lamp on the printing machine flashes when searching for or connecting to an access point.
- Now, after this, click on the “OK” option.

Steps for Software Installation
Latest and updated Canon printer drivers must be installed on the system. Hence, users are suggested to follow the below steps to install Canon printer drivers. So, follow the steps written below.
- Make sure that any lamp on the Mode button lights up and that the Wi-Fi lamp lights up blue.
- Note: If the printing machine is already connected to a wireless network, users should not use a USB cable to perform network setup.
- After that open web browser in computer system or laptop.
- Then visit the official website i.e. ij.start.canon.
- Now from there, users are suggested to download Canon Printer Driver for Canon MX410.
- After the download process is complete, users are suggested to open the downloaded file.
- Now select “Yes” to grant permission to continue.
- Thereafter, when the setup process starts, users are suggested to click on the “Next” option.
- Now the users are suggested to choose the place of residence and then click on the “Next” option.
- Then read the license agreement carefully and tap on the “Yes” button.
- From there, select the option “Use printer with wireless LAN connection” and then click on the “Next” option.
- Note: Now, when the Check Printer window opens, users are suggested to click on the “OK” option. The system will then search for the printer on the network.
- Now the printer will be displayed in the window, make sure it is selected.
- Then users are recommended to click on the “Next” button.
- Thereafter, when the “Setup Completion Screen” opens, users are suggested to select the “Done” option.
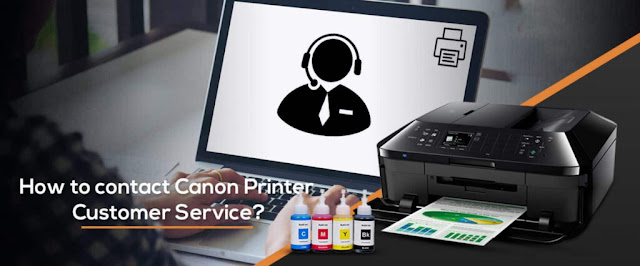
If, after following the steps mentioned above, the user still encounters an issue with Canon printer setup, feel free to contact the Canon customer service team for assistance.

Comments
Post a Comment